Technique

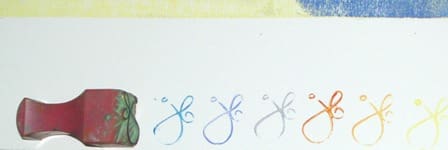
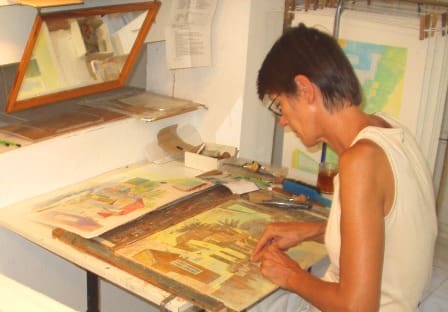
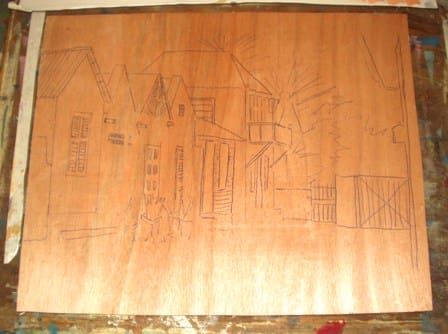
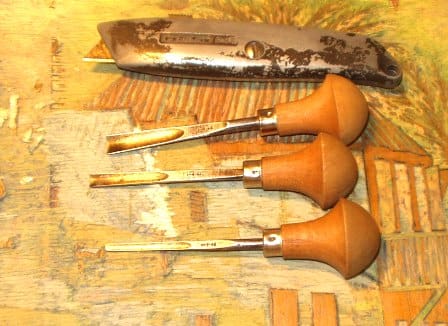
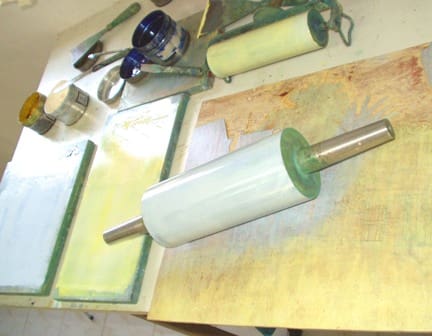
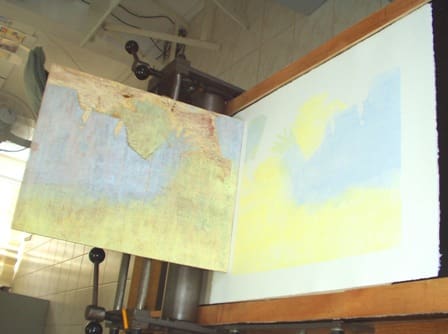
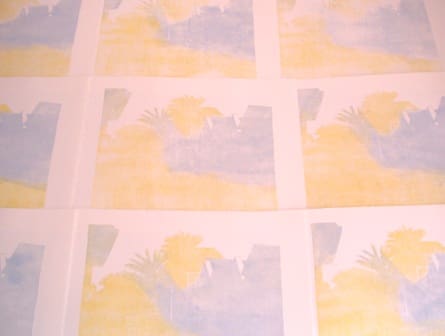
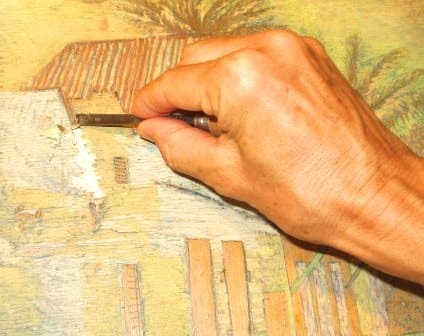
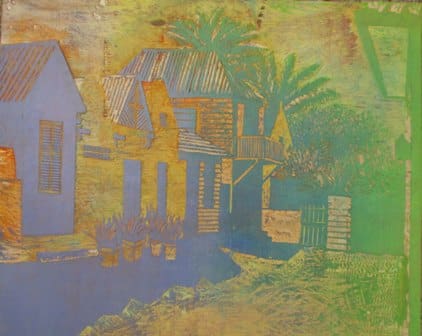
There are many ways to transfer a sketch into a printed edition of engravings. I choose the woodcutting technique because I simply love the natural look and feel of wood and I love the physical aspect of the cutting and printing.

1

Here, you can see the total cutting process in one blink of an eye. The sketch is upside down in front of the mirror. By looking into the mirror, I have a view of my example. On the rack, you can see the entire edition.

2

The beginning of the printing process: I copied my sketch mirror wise on a triplex plate. The drawing is lacquered with shellac to prevent that during the printing and cleaning of the plate, the drawing will disappear. For the first printing edition, I cut out the parts that need to remain white.

3

The cutting process evolves with gouges of different sizes and shapes, and with the help of a Stanley knife.

4

The printing ink is put on the ink stones and thinly rolled out on the plate with rolling devices. The first colours are bright; later on in the process I use darker colours on top of the lighter ones.

5

The plate that has been enrolled with ink has left a print on the paper, because both the plate and the paper were put through the printing press together. The first printing edition is ready now: all other colours will be printed on top of this first print later on. It is very important to put the plate exactly on the printed image, or else there will be a bad copy or misprint.

6

All leaves have to be printed from the start of the first printing edition. The entire set of woodcut copies will get the same play of colours, but because the ink is mixed and printed by hand, small variations are created in every separate print.

7

After every printing edition I cut out the pieces of wood that have printed the right colour. As a result, these parts keep their colour, even when other layers of ink are printed on the plate.

8

It is possible to print two colours on top of each other, with the result that the colour runs over. This is called ‘Iris print’. This ‘transition’ happens when different colours of ink are rolled over the plate.

9

After every printing edition I use a stamp with my initials J and B (Jantina van den Berg), on the lower right of the paper. Given the amount of stamps, you can see how many times the plate has run through the printing press, and which colours were used to get the final result.

10

The work is done; the plate is nearly empty. Only the last printing edition that has to be done, very often also the darkest one, is visible. It is impossible to use this plate for other prints; at the end of the process, it has been reduced to little dark pieces. This is where the name ‘reduction-method’ comes from: all colours are printed and cut out from only one wooden plate. I consider this as an exciting process, because every act has a consequence for the prints that follow.

Galerie Inkt
Choorstraat 29, Delft
tel +31 15-213 86 50

Kunstzaal Leo van Heijningen
Noordeinde 152, Den Haag
tel +31 70-345 90 53